DSTIKE Hackheld · Volume 9
DSTIKE Hackheld Volume 9 — Firmware Update Procedures
Web flasher, esptool, Arduino IDE upload, recovery from a brick, downgrade procedures
9.1 Before flashing — back up
Always back up the full flash before overwriting. The Hackheld’s persistent state — Names, SSIDs, settings — lives in SPIFFS. SPIFFS is in flash. Re-flashing without backing up SPIFFS wipes any accumulated work.
Procedure (with esptool.py installed; see Path B for installation):
# Read the full 4 MB flash to a local file:
esptool.py --port /dev/ttyUSB0 --baud 921600 read_flash 0 0x400000 hackheld_backup_2026-05-15.bin
The result is a 4-megabyte raw file containing bootloader + Spacehuhn 2.6.1 firmware + SPIFFS + EEPROM. Keep this file in 05-resources/firmware_backups/. To restore, the inverse:
esptool.py --port /dev/ttyUSB0 --baud 921600 write_flash 0 hackheld_backup_2026-05-15.binThe first flash of any new firmware should be preceded by this backup, every time. Storage is cheap. Reconstructing your named-targets list after losing it is not.
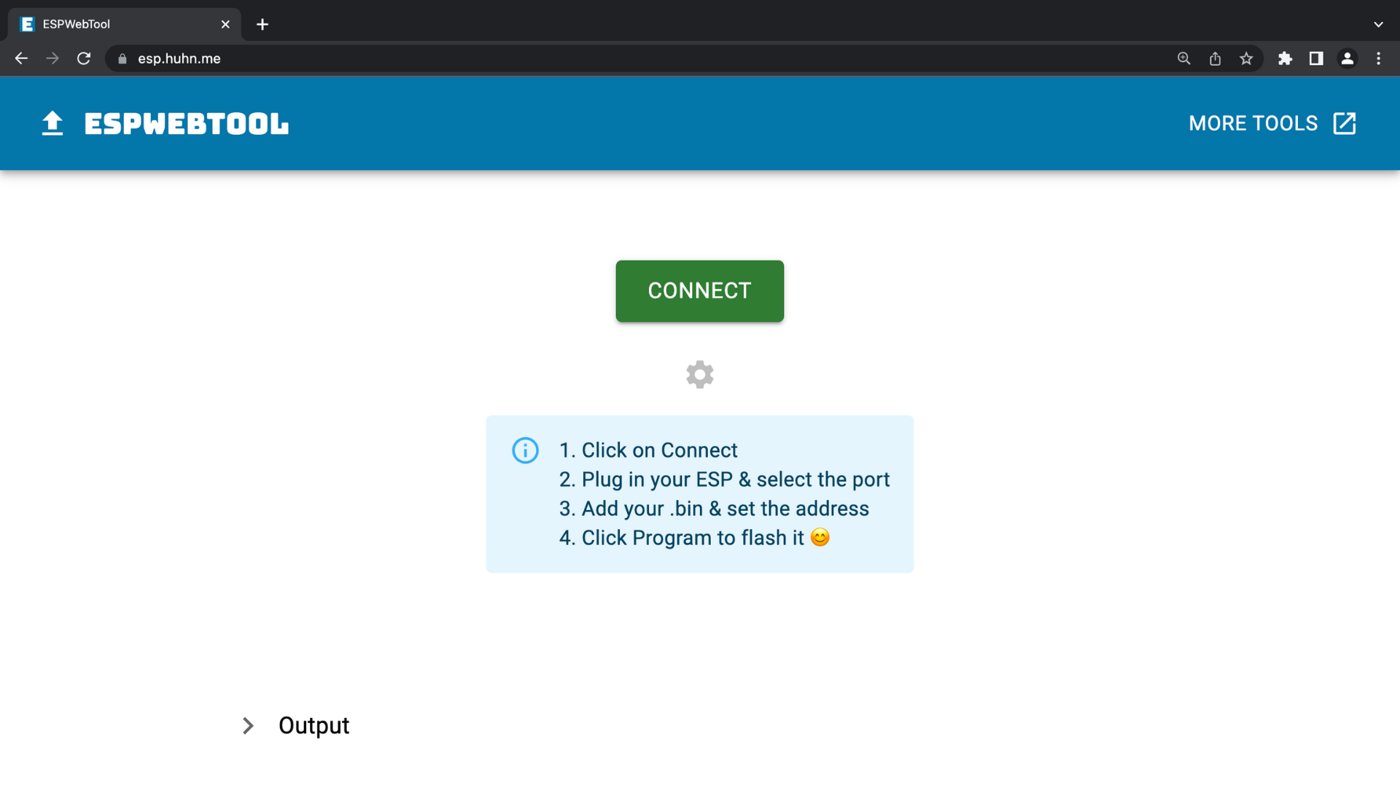
Figure 9.1 — The ESPWebTool browser flasher. Source: docs.spacehuhn.com.
9.2 Bootloader entry — the FLASH+RESET dance
The ESP8266’s ROM bootloader is invoked by holding GPIO 0 low while the chip is held in (or just released from) reset. On the Hackheld, this is wired to two front-panel buttons:
Table 1 — The ESP8266's ROM bootloader is invoked by holding GPIO 0 low while the chip is held in (or just released from) reset. On the Hackheld, this is wired to two front-panel buttons
| Button | Wire | What it does |
|---|---|---|
| FLASH | GPIO 0 (typically the LEFT key on the navigation diamond — verify against the matching firmware’s A_config.h) | Pulls GPIO 0 to ground while held |
| RESET | EN (CHIP_EN) | Pulses the chip’s enable line low |
The procedure:
1. Hold FLASH (don't release).
2. Press RESET briefly and release.
3. Release FLASH.
4. The chip is now in UART boot mode.
When in UART boot mode, the device:
- The OLED stays blank (no firmware is running; nothing to draw)
- The CH340 USB device stays enumerated as a COM port
- Any boot-bank software (
esptool.py, Arduino IDE, web flasher) can read/write flash
Auto-reset: when esptool.py or Arduino IDE invokes the upload, they pulse the CH340’s DTR + RTS lines to enter bootloader mode automatically. If auto-reset works (most of the time), you don’t need the manual dance. If it fails (some Windows USB drivers; some flaky cables), fall back to the manual procedure.
9.3 Path A — Web flasher
The friendliest path for non-developers. Vendor-hosted Web Serial flashers serve compiled binaries direct from the browser.
For Spacehuhn Deauther: https://deauther.com/flash
Walkthrough:
- Plug the Hackheld into the host via USB-C.
- Open
https://deauther.com/flashin Chrome or Edge (Web Serial — not Firefox or Safari). - Click Connect. Browser prompts you to choose a serial device — pick the CH340 / USB-Serial entry.
- Hold FLASH + tap RESET to enter bootloader, or let the page’s auto-reset do it.
- Select the firmware variant. For the Hackheld V1, the right variant is “Generic ESP8266” or the explicit “DSTIKE Hackheld” if listed.
- Click Install — the page erases, writes, verifies. ~2 minutes total.
- Press RESET. New firmware boots.
For ESP8266 Marauder: https://marauder.io/flash (same flow; Marauder builds listed).
Web Serial caveats:
- Firefox / Safari do not support Web Serial. Use Chrome / Edge (or Chromium-derivatives like Brave).
- The page does not preserve SPIFFS — your Names/SSIDs lists are wiped. Back up first (§1).
- The page does not let you choose what flash address regions to write — it writes everything. For partial flashes, use Path B.
9.4 Path B — esptool.py (the canonical CLI)
Espressif’s official Python utility. The de-facto standard for ESP8266 / ESP32 firmware operations from a CLI.
Install:
pip install esptool
# Or, if pip refuses on managed-python environments:
pip install --user esptool
Verify:
esptool.py versionDetect the chip:
esptool.py --port /dev/ttyUSB0 chip_idThe chip should respond with its MAC address and a confirmation of Detecting chip type... ESP8266. If it doesn’t respond, you’re not in bootloader mode — do the FLASH+RESET dance first.
Flash a single bin to flash address 0:
esptool.py --port /dev/ttyUSB0 --baud 921600 write_flash --flash_mode dio --flash_size 4MB 0 my_firmware.binNotes:
--flash_mode diomatches the Hackheld’s ESP-12 module.qiowon’t work on this hardware.--flash_size 4MBmatches the module’s SPI flash. Wrong size produces a chip that boots but with corrupted SPIFFS.--baud 921600is fast and works on the CH340 in practice. Drop to--baud 115200if uploads fail intermittently.
Flash multiple regions (for full firmware + SPIFFS + bootloader):
esptool.py --port /dev/ttyUSB0 --baud 921600 write_flash --flash_mode dio --flash_size 4MB \
    0 bootloader.bin \
    0x1000 firmware.bin \
    0x300000 spiffs.bin
The exact address layout depends on the firmware build. Spacehuhn Arduino-IDE builds produce a single .bin at 0x0. Build outputs that come from a PlatformIO project may have separate bootloader / app / spiffs files.
Erase entire flash (factory-reset, scary version):
esptool.py --port /dev/ttyUSB0 erase_flashThis wipes everything. After this, the chip will boot but have no firmware — you must flash a new firmware to make it functional again.
9.5 Path C — Arduino IDE
The development path. Vol 10 has the IDE setup; for re-flashing existing firmware:
- Open the firmware source in the Arduino IDE (e.g.,
esp8266_deauther.ino). - Tools → Board → ESP8266 → “Generic ESP8266 Module”
- Tools → Flash Size → “4MB (FS:2MB OTA:~1019KB)” (matches the partition map Spacehuhn uses)
- Tools → CPU Frequency → “80 MHz” (or 160 for compute-heavy custom builds)
- Tools → Upload Speed → start at 115200; raise to 460800 once the link is proven
- Tools → Port → pick the CH340 COM port
- Sketch → Upload
- (Manual fallback if auto-reset fails: hold FLASH, tap RESET, release FLASH after the IDE shows “Connecting…”)
Arduino IDE Upload uses esptool.py internally; it’s the same tool with a friendlier wrapper.
9.6 Path D — PlatformIO
The CI / developer path. Vol 11 has the full PlatformIO setup; for re-flashing:
cd ~/my-hackheld-project
pio run --target upload --upload-port /dev/ttyUSB0
PlatformIO automatically handles the auto-reset, flash mode, flash size, and baud rate based on the platformio.ini config. The CLI is faster than Arduino IDE for repeated upload-test-fix cycles.
9.7 Recovery from a bricked state
The ESP8266 ROM bootloader cannot be bricked. It lives in mask ROM, so no matter what is in flash, you can always get back to the UART loader via the FLASH+RESET dance.
Common “brick” scenarios and recovery:
Table 2 — Common "brick" scenarios and recovery
| Symptom | Cause | Fix |
|---|---|---|
| Device boot-loops; OLED flickers garbage | Wrong-mode flash (qio vs dio); corrupt firmware | Re-flash with correct --flash_mode dio --flash_size 4MB; or do esptool.py erase_flash first then full re-flash |
| No serial output at all | Wrong baud (host) or flash | Try 115200 first; if no, do FLASH+RESET and try again at any baud — the bootloader auto-detects |
| Boot banner shows then chip hangs | SPIFFS corruption | esptool.py erase_region 0x300000 0x100000 (erase SPIFFS), then re-flash firmware; Spacehuhn will reformat SPIFFS on first boot |
| Chip enumerates as COM port briefly then disappears | Power issue; cable; counterfeit CH340 | Try a different USB cable; different USB port; different host. If still nothing, suspect the CH340 IC itself. |
There is no scenario in which a properly-functioning ESP8266 can be permanently bricked by software. Hardware damage (e.g., a static discharge through a GPIO pin) is the only thing that takes the chip out of action permanently.
9.8 Downgrade procedure
If a newer Deauther version (2.7.x) breaks something that was working on 2.6.1:
- Before upgrading — keep your 2.6.1 backup (the full-flash dump from §1).
- If problem appears after upgrade — re-flash from the 2.6.1 backup:
esptool.py --port /dev/ttyUSB0 --baud 921600 write_flash 0 hackheld_backup_2026-05-15.bin - Reboot. You’re back to 2.6.1, with all SPIFFS state intact.
If you didn’t make a backup before upgrading (please make backups), the official Spacehuhn release archive at https://github.com/SpacehuhnTech/esp8266_deauther/releases has every prior version’s binaries. Pick the 2.6.1 release → download the .bin for the matching variant → flash with Path B. SPIFFS state will be from the upgraded version; usually compatible, occasionally not.
9.9 Verifying the flash
After any flash, verify:
# Read back the first 4KB to confirm the bootloader is there
esptool.py --port /dev/ttyUSB0 read_flash 0 0x1000 first_4k.bin
xxd first_4k.bin | head

# Expected: starts with "e9 03" (the ESP8266 firmware magic byte + segments count)
Functional verification:
- Reset the chip.
- Open serial monitor at 115200.
- Look for the boot banner —
[deauther v2.6.1]or whatever firmware you flashed. - Connect to the SoftAP and load the web UI.
- Run a scan to confirm Wi-Fi works.
If any step fails, refer to §7 Recovery.
9.10 What’s next
→ Vol 10 — Writing Your Own Code I — Arduino IDE — Arduino IDE setup from scratch, the ESP8266 core, OLED + button libraries, and your first end-to-end custom sketch on the Hackheld.
Comments (0)